


DIY Outdoor Security: How to Install a Floodlight Camera Mount in 5 Easy Steps
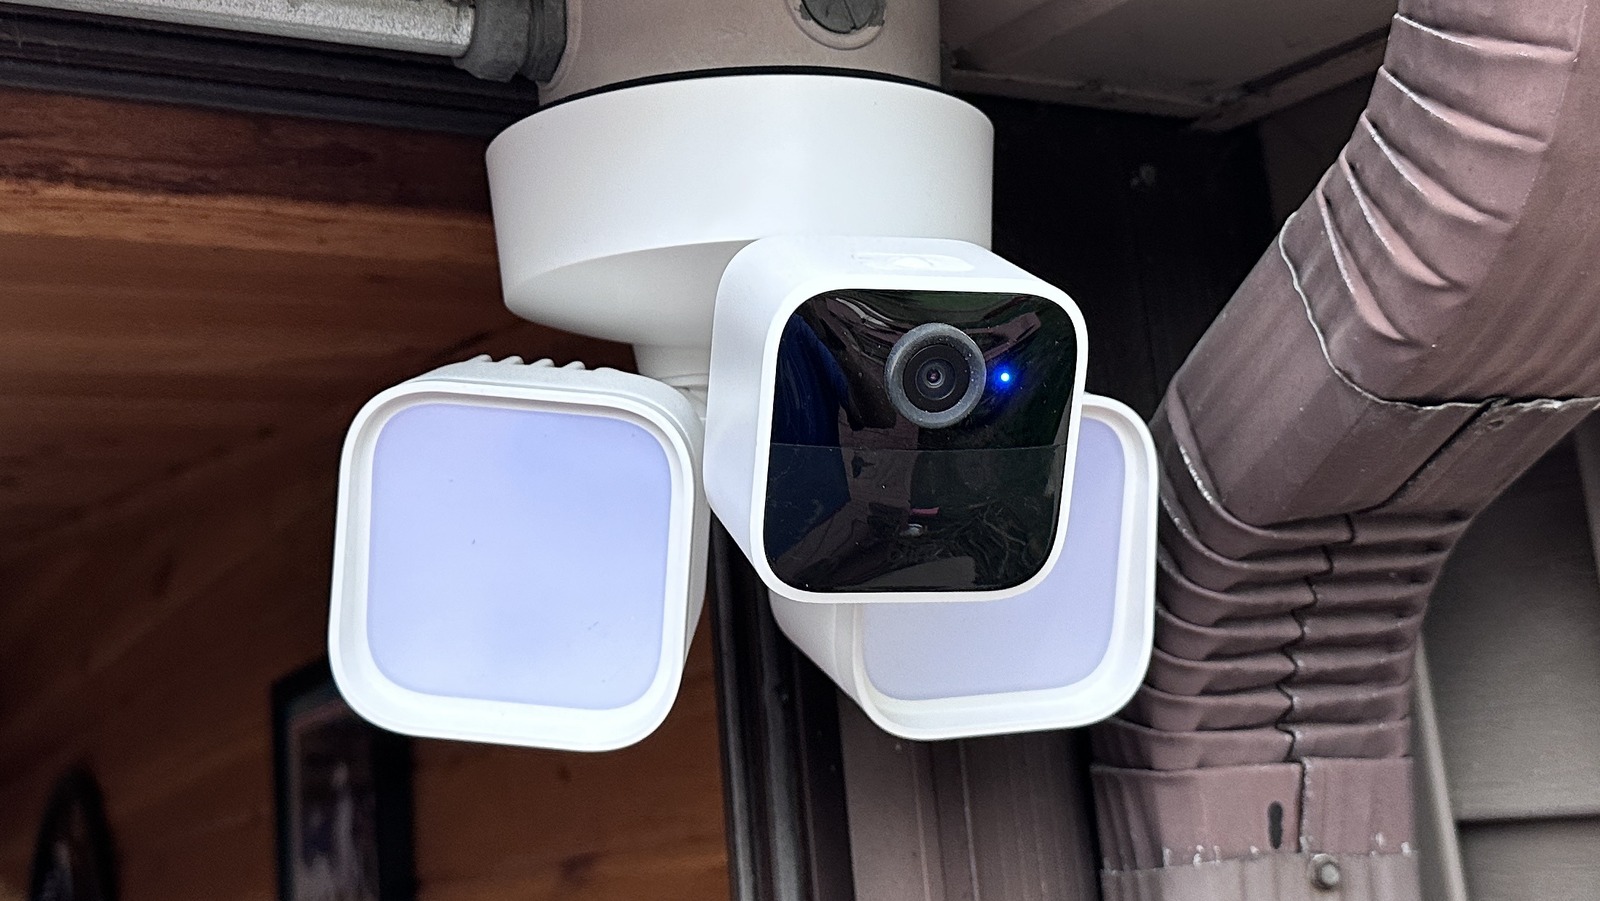
Image Source: Google
Ensuring the security of your home is essential, and one way to achieve this is by installing a floodlight camera mount. These innovative devices combine the functionality of a floodlight with a security camera, providing you with both illumination and surveillance capabilities. In this guide, we will walk you through the process of installing a floodlight camera mount in five easy steps, allowing you to enhance the security of your outdoor space without the need for professional help. Let's get started!
Step 1: Gather Your Materials
Before you begin the installation process, make sure you have all the necessary materials and tools on hand. Here's what you'll need:
- Floodlight camera mount
- Power drill
- Screwdriver
- Wire cutters
- Wire strippers
- Electrical tape
- Screws and anchors
- Mounting hardware
- Ladder
Step 2: Choose the Right Location
Selecting the ideal location for your floodlight camera mount is crucial for maximizing its effectiveness. Here are a few key considerations to keep in mind:
Key Considerations:
- Ensure the location provides a clear view of the area you want to monitor.
- Position the mount high enough to prevent tampering but low enough for easy maintenance.
- Make sure there is a power source nearby for easy installation.
Step 3: Install the Mounting Bracket
Now that you have chosen the perfect location, it's time to install the mounting bracket for your floodlight camera. Follow these simple steps:
Installation Steps:
- Use the power drill to create holes for the screws that will secure the mounting bracket to the wall or ceiling.
- Attach the mounting bracket using the screws and anchors provided in the mounting hardware.
- Ensure the bracket is securely in place before proceeding.
Step 4: Connect the Wiring
With the mounting bracket securely in place, you can now connect the wiring for your floodlight camera. Follow these steps to complete this process:
Wiring Steps:
- Use the wire cutters to trim the excess wire on the floodlight camera mount.
- Strip the insulation from the wires to expose the copper conductors.
- Connect the wires from the floodlight camera to the corresponding wires in your electrical system, using wire nuts to secure the connections.
- Use electrical tape to cover and insulate the wire nuts.
Step 5: Secure the Floodlight Camera
Now that the mounting bracket is installed and the wiring is connected, it's time to secure the floodlight camera to the bracket. Follow these final steps to complete the installation process:
Securing the Camera:
- Attach the floodlight camera to the mounting bracket using the mounting hardware provided.
- Adjust the angle of the camera to ensure it covers the desired area of surveillance.
- Tighten any screws or bolts to secure the camera in place.
- Test the floodlight camera to ensure it is functioning properly.
Congratulations! You have successfully installed a floodlight camera mount to enhance the security of your outdoor space. By following these five easy steps, you can enjoy peace of mind knowing that your home is protected by advanced surveillance technology. Remember to regularly maintain and check your floodlight camera to ensure optimal performance.

What do you think?
Show comments / Leave a comment